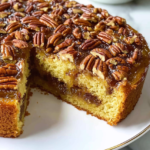
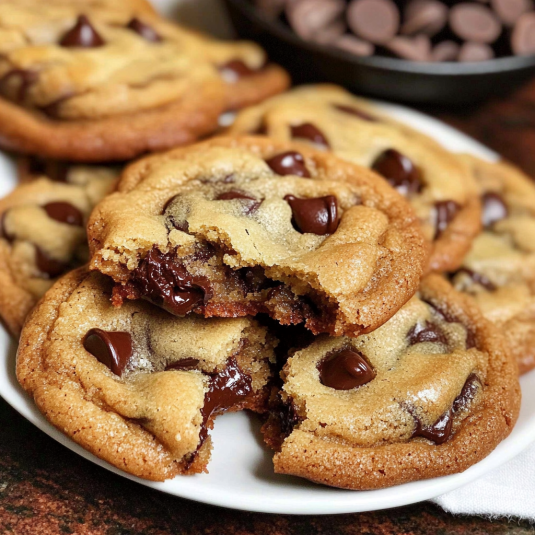
I baked over 500 cookies to measure butter moisture loss and fine tune chew, spread, and flavor in Brown Butter Chocolate Chip Cookies.
These cookies deliver nutty toffee notes, chewy centers, and crisp edges.
Butter temperature, sugar balance, and bake heat all matter.
This method brings them together for steady bakery style results at home.
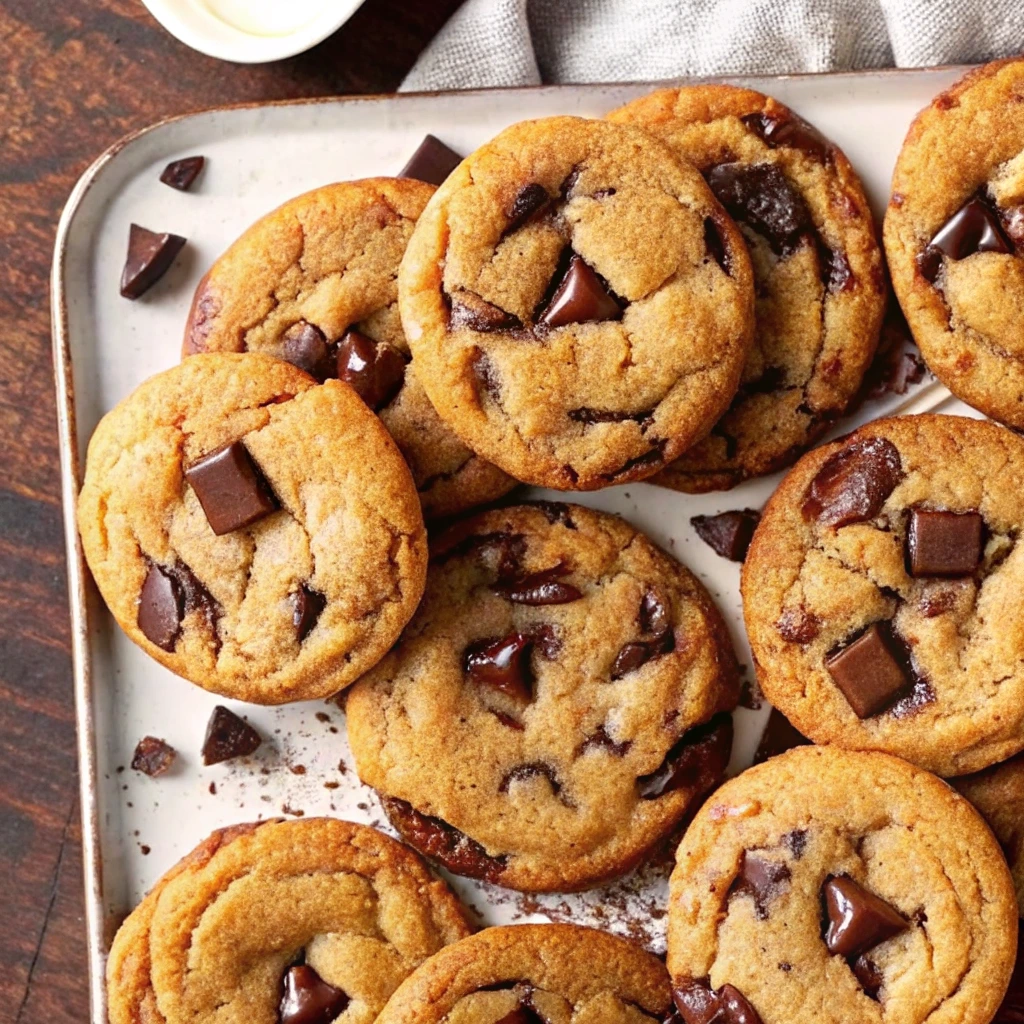
Table of Contents
The Science of the Brown Butter Edge
This recipe works because brown butter changes how flavor and texture form during baking.
Maillard Browning and Flavor
When butter heats past melting, the milk solids sink and toast. This triggers the Maillard reaction. It creates nutty and caramel-like flavor compounds that plain melted butter cannot produce. Those toasted bits are what give the cookies their deep toffee taste and warm aroma.
What Happens to Moisture
Butter is not just fat. It also contains water. As butter browns, heat drives off moisture. You can lose up to 18 to 25 percent of that water during this step. Less water means less steam in the oven, which can lead to dry or crumbly cookies if nothing is done to balance it.
The Competitive Advantage
The fix is simple. Add one tablespoon of milk after browning the butter. This replaces the lost moisture without dulling the toasted flavor. The dough stays soft. The cookies bake up chewy instead of brittle. This single step is why these cookies keep a tender center while still forming crisp edges.
Key Ingredient Deep Dive
Every ingredient in this recipe has a clear job. Changing one can shift texture, spread, or flavor.
Butter
Use salted butter. Salt sharpens the nutty taste that comes from browning the milk solids. It also balances the sweetness without adding more steps. Browning salted butter does not mute the salt. It blends it into the dough for even flavor.
Sugar
Dark brown sugar should be the main sweetener. It contains more molasses than light brown sugar. That molasses brings moisture and a deep toffee taste. It also helps the cookies stay chewy instead of dry. A small amount of white sugar helps the edges turn crisp.
Leavening
Baking soda is the right choice for chewy cookies. It reacts with the acidic brown sugar and raises the dough just enough. It also boosts browning, which strengthens flavor and color. Baking powder adds too much lift and can push cookies toward a cake-like crumb.
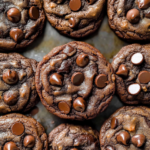
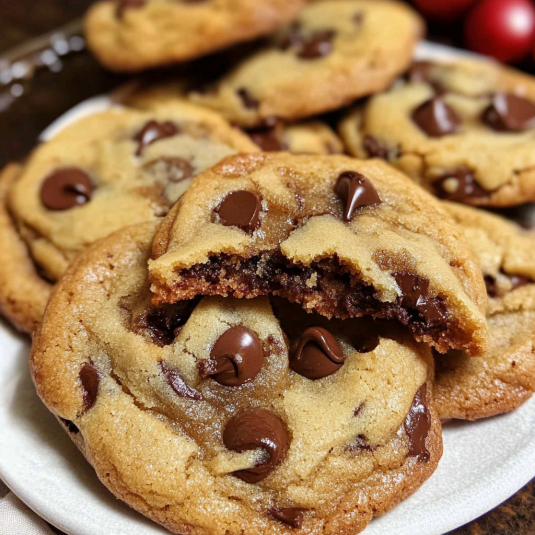
Chocolate
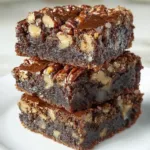
Chopped couverture chocolate works best here. Chocolate bars melt into thick puddles because they lack stabilizers found in chips. This gives you rich pools instead of neat dots. For balance, you can mix chopped chocolate with a small amount of chips to keep structure while still getting melt.
Each of these choices supports the same goal. A chewy center, crisp edges, and strong brown butter flavor in every bite.
The cocoa percentage on chocolate tells you how much of the bar comes from cocoa solids and cocoa butter. A 60 percent cocoa chocolate offers the best balance for these cookies. It is rich and slightly bitter, which offsets the sweetness from brown sugar and butter. Lower percentages taste sweeter and can make the cookie cloying. Higher percentages can overpower the dough and mute the toffee notes from the brown butter.
Using chocolate around 60 percent keeps the cookies balanced. The sweetness feels controlled, the chocolate tastes deep, and the brown butter flavor stays clear instead of getting lost.
Optional Practical Tip
For the best result, use a mix of chopped 60 percent chocolate and a small amount of chips. The chopped chocolate melts into pools, while the chips help the cookies hold structure.
Step by Step Masterclass Instructions
This section breaks the process into clear phases. Follow them in order. Each phase controls spread, texture, and flavor.
Phase 1: Browning the Butter
Place the butter in a light colored pan over medium heat. Let it melt, then cook while stirring often. Watch closely as foam forms and the color deepens. You want brown specks at the bottom and a rich golden foam on top. Once it smells nutty and sweet, remove it from the heat right away.
Pour the butter into a heat safe bowl, scraping in every brown bit. Stir in one tablespoon of milk to replace lost moisture.
The Toasted Milk Powder Tactic
What to Do
While browning the butter, add 1 tablespoon of dry milk powder directly to the pan. Stir as the butter foams and darkens.
Why It Works
Milk powder is almost pure milk solids. When it heats with butter, it browns fast and forms more brown bits. Those bits carry strong nutty and toffee flavor. You get a deeper taste without changing the dough balance.
Phase 2: Cooling the Butter
Let the butter cool at room temperature. It must turn solid again but stay soft when pressed. This step matters. Warm or liquid butter leads to cookies that spread too much. The butter should feel like softened stick butter before moving on.
Cold Butter vs Liquid Butter
| Factor | Cold Butter Soft and Solid | Liquid Butter Warm or Hot |
|---|---|---|
| Butter state before mixing | Solid but soft to the touch | Fully melted |
| Interaction with sugar | Traps air during mixing | Dissolves sugar |
| Dough structure | Firm and easy to shape | Loose and hard to control |
| Cookie spread | Controlled and even | Wide and excessive |
| Final cookie shape | Thick with defined edges | Flat and thin |
| Result after baking | Soft center and crisp edges | Greasy and flat cookies |
Phase 3: Creaming the Dough
Add the sugars to the cooled butter. Beat for two to three minutes until the mixture turns pale and fluffy. This step adds air, which helps balance the dense fat from brown butter. Scrape the bowl once to keep the mix even.
Add the eggs and mix just until smooth.
Phase 4: Chilling the Dough
After mixing in the dry ingredients, cover the dough and place it in the fridge for one to four hours. This rest time allows the flour to absorb moisture. The dough firms up. Flavor deepens. The cookies bake thicker with better chew.
Do not skip this step. Chilled dough is key to clean edges and soft centers.
Print
Brown Butter Chocolate Chip Cookies
- Total Time: 32 minutes
- Yield: 18 cookies 1x
- Diet: Vegetarian
Description
Chewy brown butter chocolate chip cookies with crisp edges, soft centers, and rich toffee flavor. Built with simple baking science for steady bakery-style results at home every time.
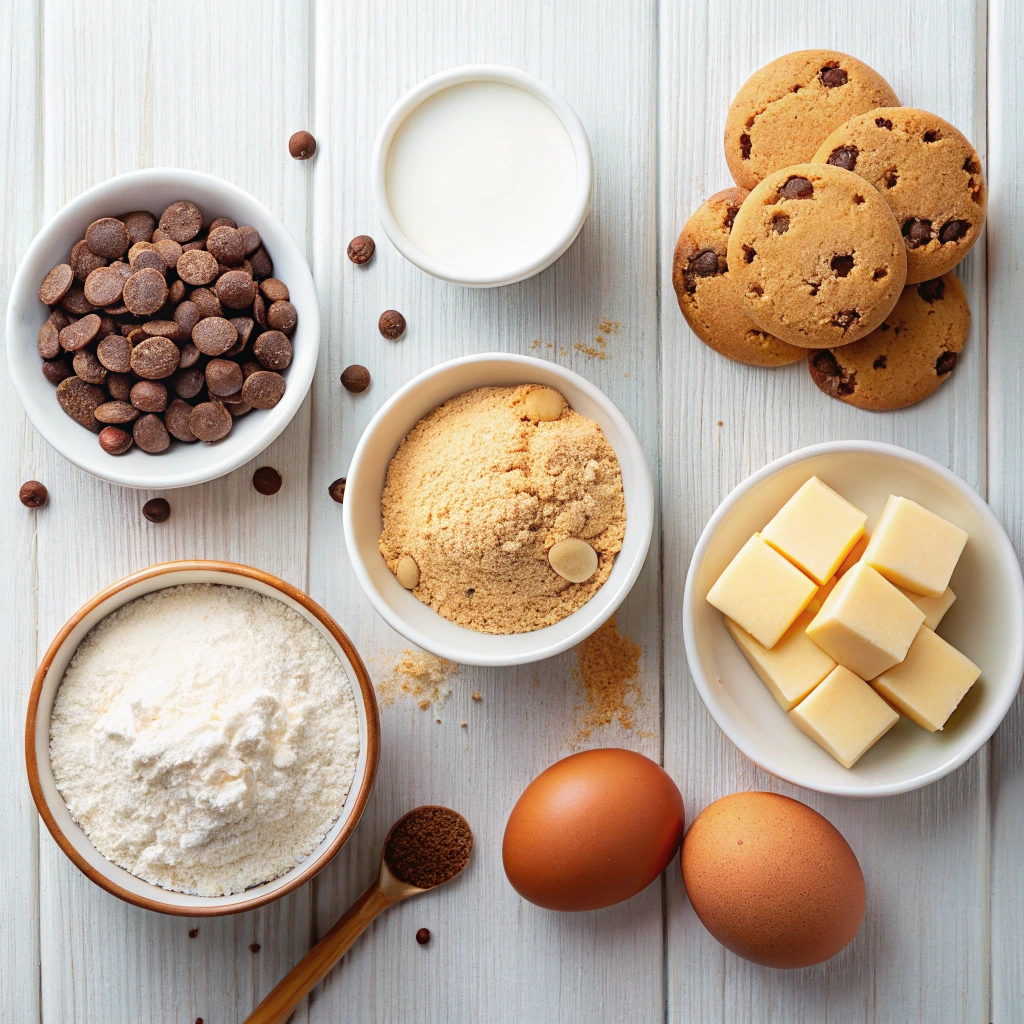
Ingredients
- 1 cup salted butter
- 1 tablespoon milk
- 1 cup dark brown sugar
- 1/4 cup white sugar
- 2 large eggs
- 2 1/2 cups all-purpose flour
- 1 teaspoon baking soda
- 3/4 teaspoon salt
- 8 oz chopped chocolate or chocolate chips
Instructions
- Place butter in a light-colored pan over medium heat and cook until browned with nutty aroma.
- Transfer browned butter to a bowl and stir in milk to replace lost moisture.
- Let butter cool until solid but soft.
- Add brown sugar and white sugar to butter and beat until pale and fluffy.
- Add eggs and mix just until smooth.
- In a separate bowl, whisk flour, baking soda, and salt.
- Mix dry ingredients into dough until just combined.
- Fold in chopped chocolate.
- Cover dough and chill for 1 to 4 hours.
- Preheat oven to 375°F.
- Scoop dough onto baking sheet lined with parchment.
- Bake for 10 to 12 minutes until edges are golden and centers are soft.
- Tap pan on counter after baking for textured tops.
- Cool briefly, shape if desired, and serve.
Notes
Butter temperature and dough chilling are key for proper spread and chew. Weigh ingredients for best consistency.
- Prep Time: 20 minutes
- Cook Time: 12 minutes
- Category: Dessert
- Method: Baking
- Cuisine: American
Nutrition
- Serving Size: 1 cookie
- Calories: 177
- Sugar: 14g
- Sodium: 168mg
- Fat: 7g
- Saturated Fat: 4g
- Unsaturated Fat: 2.4g
- Trans Fat: 0.3g
- Carbohydrates: 26g
- Fiber: 0.4g
- Protein: 2g
- Cholesterol: 34mg
Pro Tips for Bakery Style Results
These small details push the cookies from good to bakery level. Most recipes skip them or hide them at the end.
Bake Hot for Better Shape
Set the oven to 375°F. The higher heat sets the edges fast. This controls spread caused by brown butter while the center stays soft. Lower heat can lead to wide, thin cookies with less chew.
Pan Banging for Texture
As soon as the cookies come out of the oven, lift the pan and tap it firmly on the counter. This knocks out trapped air and creates soft wrinkles on the surface. The centers settle while the edges stay crisp.
Weigh Your Ingredients
Use a kitchen scale for flour and butter. Scooping flour adds too much without you noticing. Extra flour makes cookies dry and stiff. Weighing keeps the dough balanced every time, especially after browning butter.
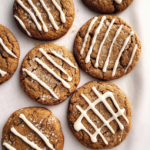
Shape After Baking
While the cookies are still hot, place a round glass or cutter over each one and gently swirl. This pulls the edges into a neat circle. The cookies cool with a clean bakery look and thicker centers.
These steps take very little time, but they control spread, chew, and appearance in a big way.
FAQs
Why does brown butter make cookies better?
Brown butter changes flavor at a deep level. When the milk solids toast, they form nutty and caramel-like compounds. These flavors taste richer than plain butter. In cookies, this creates a toffee note that pairs well with chocolate and brown sugar.
Should I let my brown butter cool before making cookies?
Yes. Brown butter must cool until it turns solid again but stays soft. Using it while hot or liquid breaks the dough structure. That causes cookies to spread too much and turn greasy. Soft, cooled butter gives control and better shape.
Should I add milk to brown butter cookies?
Yes. Browning butter removes a large amount of water. Adding one tablespoon of milk replaces that lost moisture. This keeps the dough flexible and helps the cookies stay chewy instead of dry or crumbly.
Why did my brown butter cookies come out flat?
Flat cookies usually come from warm butter or warm dough. If the butter did not cool enough, or the dough skipped chilling, the fat melts too fast in the oven. Chill the dough and make sure the butter is soft but solid before mixing.
Do you bake chocolate chip cookies at 350 or 375?
For brown butter cookies, 375°F works better. The higher heat sets the edges quickly. This controls spread while keeping the center soft. Lower heat can lead to wider cookies with less chew.
What is the secret to a chewy cookie?
Baking soda plays a big role. It creates a denser crumb and boosts browning. Dark brown sugar also helps by adding moisture. Together, they give cookies a chewy center with crisp edges.
Storage, Make Ahead, and Freezing Tips
These cookies hold their texture well when stored the right way. Planning ahead also improves flavor.
Storing Baked Cookies
Once fully cool, place cookies in an airtight container. Keep them at room temperature for up to four days. Add a small piece of bread to the container to help keep the centers soft.
Making the Dough Ahead
You can make the dough up to three days in advance. Keep it covered in the fridge. This rest time deepens flavor and improves chew. Scoop the dough before chilling if you want faster baking later.
Freezing the Dough
Portion the dough into balls and freeze on a tray until firm. Transfer to a freezer bag. Bake straight from frozen at 375°F. Add one to two extra minutes to the bake time.
Freezing Baked Cookies
Baked cookies also freeze well. Let them cool fully, then freeze in a sealed bag for up to two months. Thaw at room temperature. The centers stay soft, and the edges keep their bite.
Let’s bake together! I will explain all the steps in detail in the written recipe. If you try this recipe, don’t forget to tag me on Facebook, and you can also follow me on Pinterest.